QuickBooks POS 9.0 tutorial
QuickBooks Barcode Generation Tutorial
February 13, 2017 – 21:07
Add Barcodes to QuickBooks Printed Forms
This QuickBooks barcode tutorial is designed to help users integrate barcode generation functionality into existing QuickBooks reports for direct printing.
Create Barcodes on Invoices
- This tutorial was created for QuickBooks Pro 2014 and uses Code 39 Barcode Fonts, which support numbers and upper-case letters to add a barcode to an existing QuickBooks invoice form. Unfortunately, the online version of QuickBooks does not allow the user to add or call additional fonts.
- Download and install the Code 39 Barcode Font for encoding of numbers and/or upper-case letters or the Codabar Barcode Font for numbers only.
- After installation, restart the application so QuickBooks can reload with the new fonts.
- To begin, on the opening splash screen, choose Create Invoices.
- Click Manage Templates from the Formatting Drop Down Menu.
- Select an Invoice and click Copy to create a duplicate and save
the original.
- Change the name of the template. In this case Barcode Invoice is
used and click OK at the bottom to open.
- The Basic Customization screen will open on default. Click the
Additional Customization button at the bottom:
This will open up the next screen with the available fields available to add to the different sections of the invoice. Verify that the item to be barcoded has a check mark next to it, as in this example and tutorial where the Invoice No. will be barcoded. - Click the Layout Designer button located on the bottom side
of the screen.
- Rearrange the fields in the layout designer so that the Invoice No. or other
field has enough height and width
to display the barcode.
Note: The field that contains the data is labeled Sample and this is will contain the barcode. In this case, the Date and Invoice fields have been placed to the left and then the Invoice No field is stretched to the right and downward, making it wider and taller. - In the QuickBooks layout designer, double-click on the Invoice
# field and choose the IDAutomationHC39M
font and change the point size of the font to 12.
- Select OK at each screen until the new template is saved.
- Choose Customers - New and change the template
to the new "Barcode Invoice" that was just created.
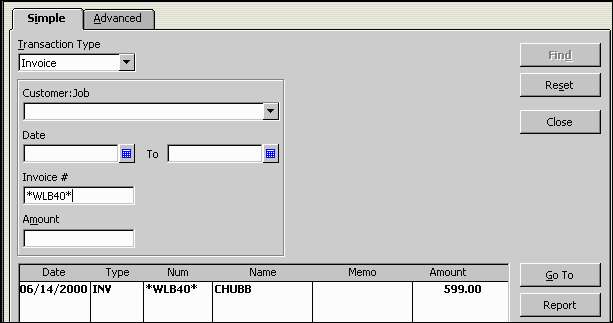
- In the invoice number field, add an asterisk
(*) to the beginning and ending of the existing number. After this, any new invoices created will contain the asterisks at
the beginning and end. This is required as a start and stop character
for the Code 39 or Codabar barcode fonts to create an accurate barcode.
Scanning in QuickBooks
Scanning barcodes in QuickBooks improves lookup time and reduces data entry errors. Using a USB barcode scanner with a built-in decoder is best because of the ease of use. All of the scanning hardware available at IDAutomation have built-in decoders that can read several different barcode types. IDAutomation highly recommends their USB Linear Barcode Scanner for it's affordable price and high performance.
Related posts:
 If you already have a PC and are looking to convert it to a full POS System, a bundled POS Kit is a fantastic option. Having a POS System at your business can…
 Most of this is the Aloha default setup.NETWORK SETUP workgroup = ibertech servername = alohaboh Static IP Scheme ex 192.168.1.100 NetBIOS must be enabled over…
 *Receive the stated discounted price for this year’s version of the product selected, available for a limited time if purchased through Intuit. Free shipping…
 Join millions of philatelists (or stamp collectors) in collecting, displaying and enjoying Canadian stamps. We take pride in producing beautiful and…
 Allentown, PA-based point-of-sale (POS) vendor Harbortouch has disclosed a data breach affecting “a small number” of merchants using its systems. Brian Krebs,…
 Trust is the reason new businesses open accounts with us. Trust is the reason clients stay with us. And trust is the reason they refer their colleagues to us.…